A Discussion with DCC’s Prepress Manager Ralph Catani.
In today’s fast-paced tech landscape, staying current with software updates poses a challenge for both printers and their clients. As graphic design technology evolves, it raises the question: does it streamline processes or complicate the printer’s tasks? While a well-designed project is a start, its final printed form hinges on proper file setup. In the prepress phase, files undergo proofing, quality checks, and transferring the design onto printing plates. Submitting press-ready files not only saves time and money but also enhances the end product’s quality and client experience. Thus, designers must master file preparation to optimize outcomes.
Design Software
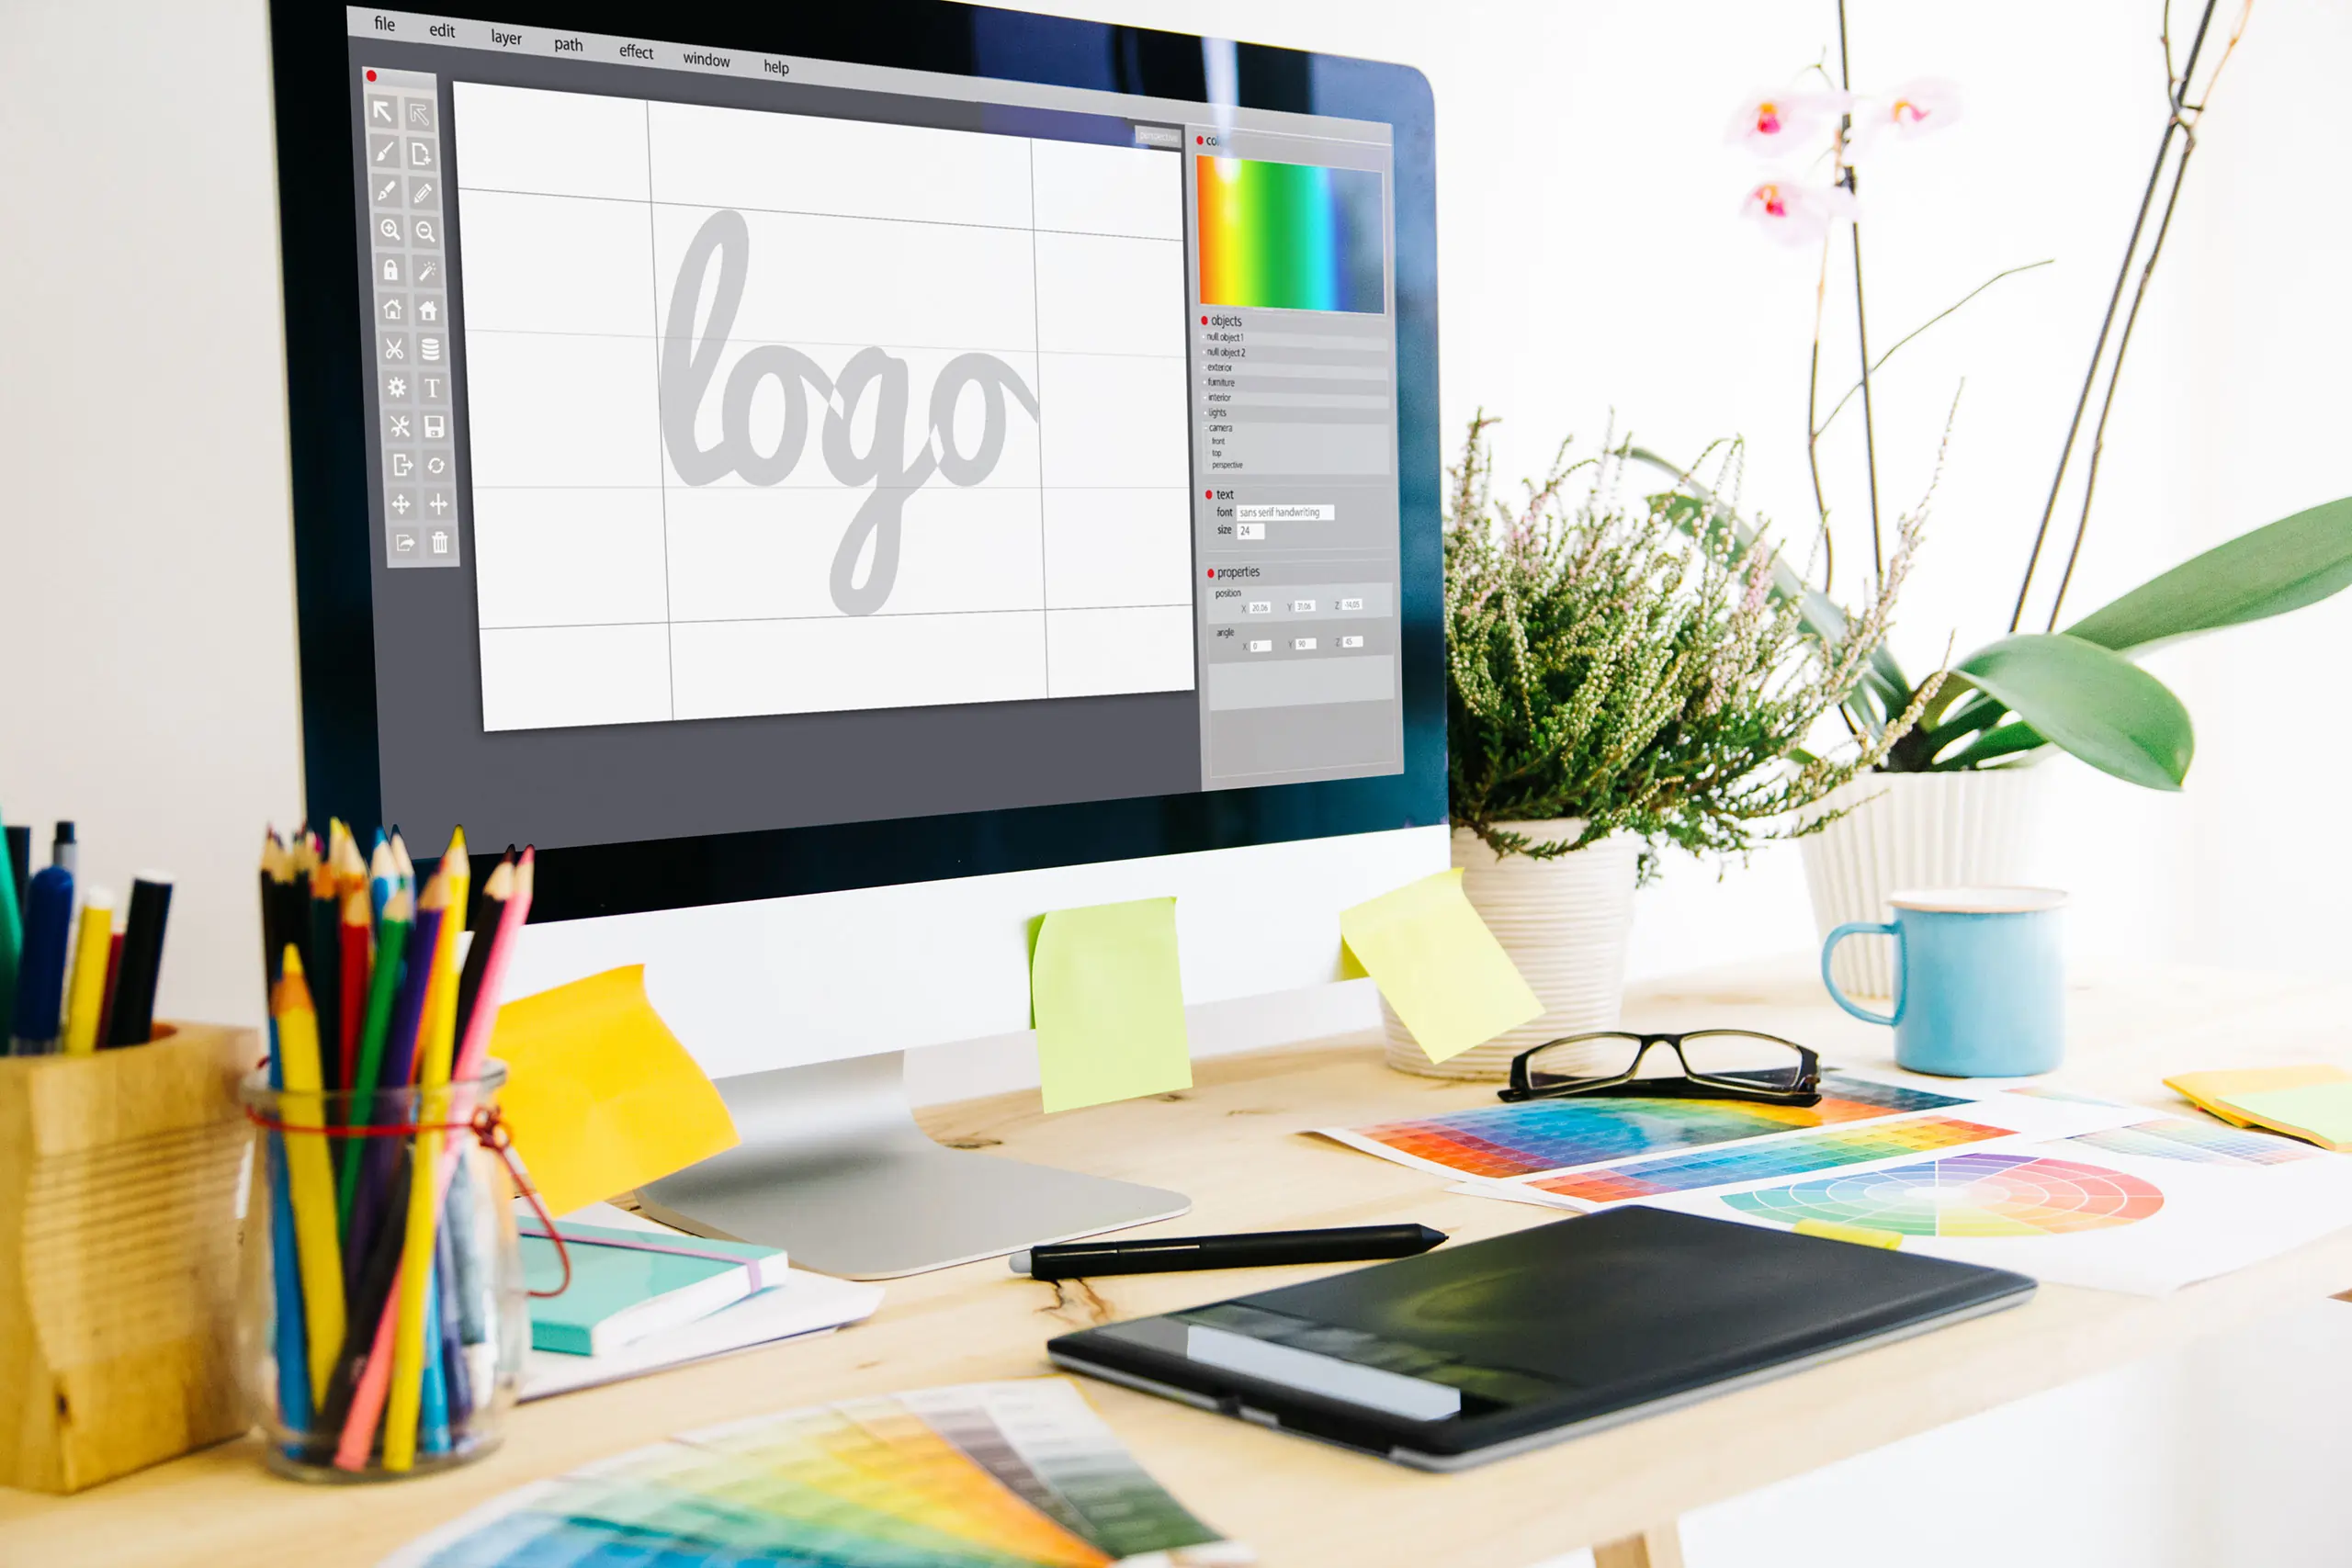
While Adobe software programs continue to dominate the marketplace, including Adobe Photoshop, Illustrator, and InDesign; designers are exploring additional technologies for speed, efficiency, and/or to save a few dollars. During prepress, InDesign is typically used for page layout, while Photoshop and Illustrator are used for retouching images, converting color profiles, and making any needed graphic edits. DCC Prepress Manager Ralph Catania says, “InDesign is by far the software most often used for page layout and is the most universal for brand development when a client will be printing across several formats.” We highly recommend using these to help streamline the process and ensure the integrity of your design. These programs are the best option for keeping your brand imagery and colors consistent across different print formats and substrates. Thanks to the rise of content creators on social media, there are other user-friendly design programs, such as Canva, that are aimed at making graphic design more accessible to anyone. According to Style Factory, Canva is used by 170 million people each month. As Canva continues to evolve in providing templates for printed collateral, so have their output options. By clicking the “share” and then “download” buttons, end users can save a “PDF Print”’ where crop marks, bleed, and color conversion to CMYK (Cyan, Magenta, Yellow, and Key or Black) are possible. It is important to note that templates that include neon and bright colors could look dull and muted in the final print production.
Once the software hurdle has been jumped, page layout, color and fonts, and artwork resolution contribute to the efficiency of the prepress process and the quality of your end product.
1. Page Layout
All design elements converge in your page layout, reflecting the final trim size. Multi-page files can be in reader spreads (sequential order for reading) or printer spreads (for print and assembly). Provide single-page reader spread files for prepress to visualize the final piece accurately. Consider binding and page margins; for instance, perfect binding results in a loss of about ⅛” on the inside edge of each page, so beware of where critical content is placed. Avoid splitting words or letters across pages and adjust image crossovers to ensure proper alignment during binding.
2. Colors and Fonts
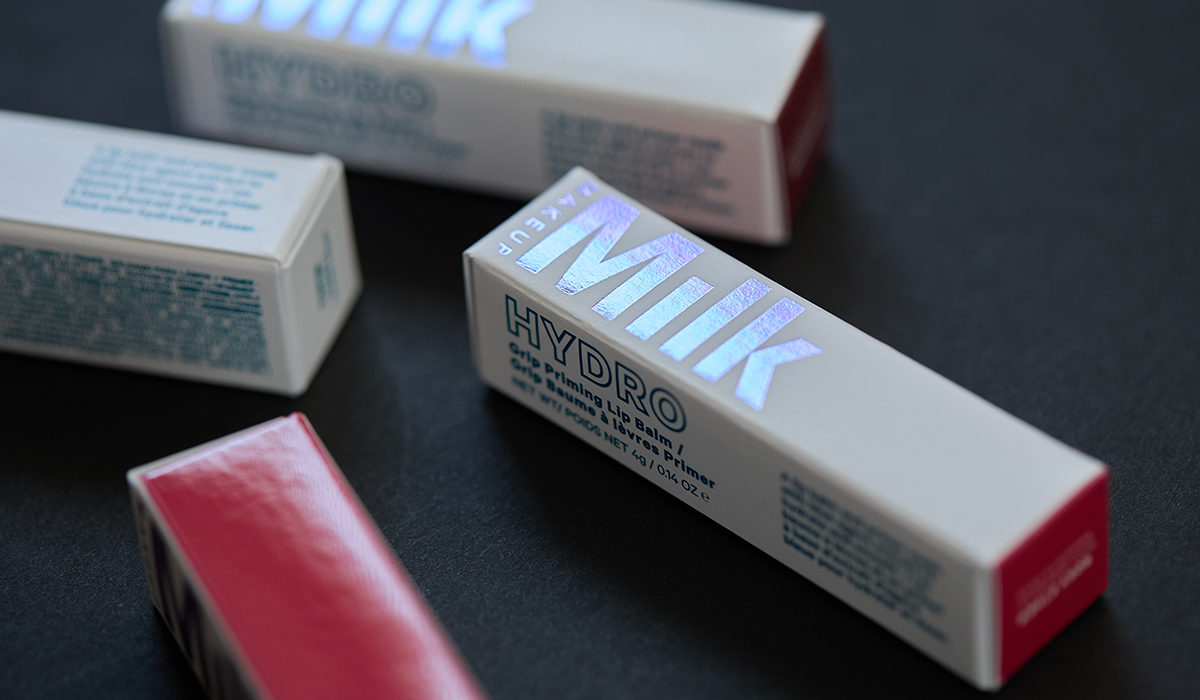
Consistency in color is crucial for brand recognition and project aesthetics. Most printers utilize CMYK color profiles, so creating files in CMYK ensures color consistency. Pantone’s standardized color matching system, or PMS colors, ensures precise color matching. When using spot colors, ensure consistency by selecting the same color base or number in each design program. The use of shade variations or tints to solid colors or body copy within your project should be created with the swatch palette versus a transparency which can cause issues. For fonts, embed or convert them to outlines to prevent “missing font” issues. Use proper stylized fonts rather than stylizing within the design application.
3. Artwork Resolution
Ensuring high-quality graphics is crucial for project success. Vector files created in Adobe Illustrator are preferred for graphic elements due to their scalability without loss of quality. For photographic images, use Adobe Photoshop with a minimum resolution of 300 dots per inch to avoid resolution loss when scaling. All graphics should be placed directly into the page layout, with linked elements included in files to prevent quality issues. Lastly, we know some designs can be very intricate, containing specialty features or even requiring construction. Whenever possible, send a hard copy mock-up, or die line to demonstrate the layout and pagination to ensure everyone is on the same page (no pun intended)!
To ensure your printed piece meets expectations, it’s crucial to set up your files correctly. Opting for a PDF format is often the best choice due to its reliability. That being said, 95% of the PDF files we receive have issues and are unsuitable for print, which can negatively impact the project. Catania says, “The biggest impact it has is on the client’s time. It takes time for the prepress team to fix issues or request new files, and that can set a project back.”
Here are some things to consider to set you up for success before submitting your file:
• Is the file format appropriate for print production?
• Are the colors in the file set correctly?
• Is your layout sized correctly with the appropriate bleed?
• Is the resolution of images and graphics suitable for print?
• Have all fonts been properly embedded or outlined?
• Are there any missing or linked files?
Catania adds, “It’s pretty simple – if you cover those bases, you’ll be fine.”
We strive to deliver top-quality results to our clients, aiming to meet and exceed their expectations. By setting them up for success, we save them time and money while ensuring their satisfaction with the final product. That’s why we offer a Prepress File Submission Guide, providing valuable tips on file creation when necessary. Think of partnering with DCC for your next project!